
This ancient superfood is 3.6 billion years old and nearly impossible to kill. If you can keep a houseplant alive, you can grow a living pharmacy in a glass jar.
Spirulina isn’t a supplement you buy in a tub. It’s a living organism — one of the oldest on Earth — and it wants to grow for you. All it asks for is light, warmth, a little air, and the right nutrients. Give it those four things, and it multiplies so fast you can harvest fresh superfood every few days.
Growing your own spirulina at home is not a science project. It’s a kitchen garden that happens to produce one of the most nutrient-dense foods on the planet. You don’t need a lab. You don’t need a greenhouse. You need a clear container, an aquarium pump, some basic nutrients, and the patience to build up your culture slowly.
This guide walks you through everything — from receiving your first live culture to harvesting your first thick green paste. Follow these steps and your culture will outlast your houseplants.
Why Bother Growing Your Own?
Fresh spirulina is a different creature from the powder.
Powdered spirulina has been dried, processed, and stored. Fresh spirulina is alive when you eat it — the nutrients are intact, the proteins are undamaged, and the phycocyanin (that deep blue antioxidant) is at peak potency. You can taste the difference. Fresh spirulina has a mild, clean, slightly oceanic flavour. No bitterness. No chalky aftertaste.
You also know exactly what went into it. No fillers. No heavy metals from questionable sourcing. No long supply chains. Just sunlight, clean water, and nutrients you control.

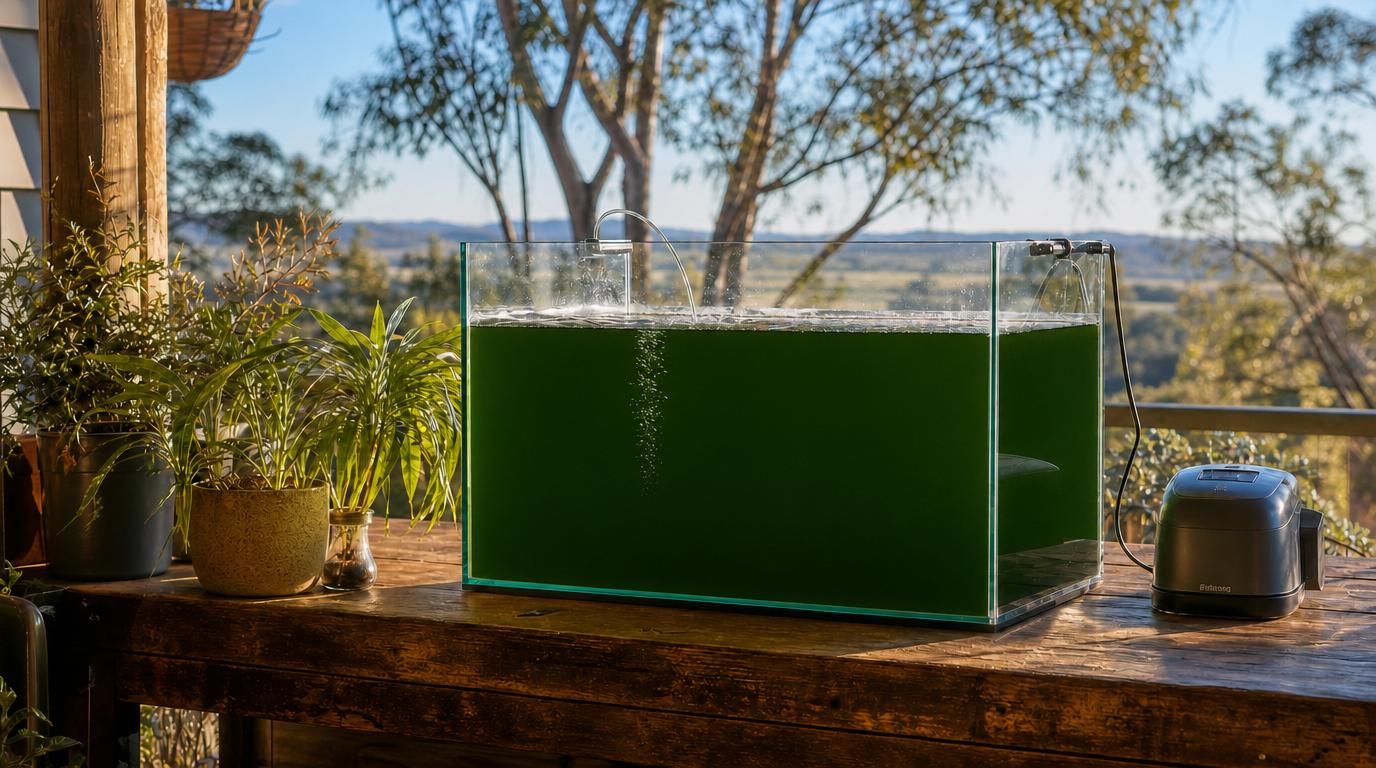
A modest 120-litre setup can yield 1 kilogram of fresh spirulina per week with just two harvests. That is enough to feed a family daily. The culture keeps producing indefinitely — as long as you keep feeding it after each harvest.
Step 1: Start With a Pure Live Culture
")
You cannot grow spirulina from powder. You need a live culture — liquid spirulina cells suspended in growth medium. Think of it like a cutting from a plant. The cells divide rapidly under the right conditions, so even a small starting volume can scale to hundreds of litres over time.
What to look for when buying:
Get the right strain. You want Limnospira platensis (the curly variety). It is significantly easier to harvest than the straight-haired strains because the spiral filaments tangle in your filter mesh
Insist on purity. Your culture should be examined under a microscope. A school science department can usually help. You are looking for a clean field of spiraling blue-green filaments. If you see other green organisms — especially chlorella — walk away. Contamination is permanent. Once another organism is in there, it will compete for resources forever.
Start with at least 500ml. Small volumes are vulnerable. More culture means more resilience against temperature swings, light stress, and beginner mistakes.
Buy local. Live cultures do not travel well. International shipping risks death in transit — or confiscation by customs, since importing live organisms without permits is illegal in most countries. Spirulina Grow Co supplies live cultures within Australia only.
Step 2: Move It to a Transparent Container
As soon as your culture arrives, give the bottle a gentle shake and open the lid. It has been starving in a dark box for days. It needs air and light immediately.
Transfer it to any clean, non-reactive, transparent container. Glass jars, plastic drink bottles, or food-grade storage containers all work. The container should be 2–3 times the volume of your culture — enough room to grow, but not so large that the liquid barely covers the bottom.
Shape matters. Taller, narrower containers work better than wide, squat ones. The bubbles from your air pump create more effective circulation in a taller column of liquid, ensuring every filament gets its turn in the light.
Starting Culture Volume | Ideal First Container |
50ml | 100–250ml jar |
500ml | 2–4 litre bottle or jar |
1 litre | 2–4 litre bottle or jar |


Step 3: Give It Light (But Not Too Much)

Spirulina is a photosynthetic organism. Light is its food. But like any organism, it can be overfed — especially when young and fragile.
For the first week: Place your culture in gentle, indirect sunlight. Never direct sun at this stage. The culture is too sparse to self-shade, and intense light will “sunburn” the filaments, damaging their photosynthetic machinery. Cover the container with a thin cloth or place it in a bright room away from the window.
The shading rule: If you can see all the way through the culture, or most of the way in, it needs shade. As the culture becomes denser and darker green, it will shade itself. Only then can it handle direct sunlight.
Artificial light works too. If you are growing indoors or want to boost winter growth, use LED shop lights or grow panels rated around 6500K (cool white / daylight spectrum). Position them 15–30cm above the culture surface and run them on a 16-hour day, 8-hour night cycle using a simple timer. Spirulina needs darkness to respire. A 24-hour light cycle will exhaust it.

Step 4: Add Bubbles — Constant Gentle Mixing
In a dense culture, light only penetrates a couple of centimetres. The filaments on top get overexposed. The filaments below starve. The solution is agitation — keeping the culture moving so every filament gets brief, regular turns in the light.
The simplest and most effective method is an aquarium air pump with silicone tubing.

Setup: 1. Cut the tubing roughly in half. 2. Join the two pieces with an in-line air valve (to control flow). 3. Connect the short end to the pump. Place the long end in the culture. 4. Turn on the pump and adjust the valve until the bubbles are vigorous enough to create a visible swirl, but not so aggressive they foam the surface.
Warning: Too much bubbling ruptures the delicate spirulina filaments. You will see foam on the surface — that is broken cell contents. Reduce the airflow immediately
For larger containers, use 2–3 air tubes positioned across the bottom. Attach them with suction cups. The bubbles should create swirling motion in all parts of the container. Any “dead zone” where water sits still is a zone where spirulina will die.
Step 5: Monitor Temperature Like a Hawk


This is where beginners often lose their culture.
Spirulina can survive from 2°C to 40°C (some times more but don't push it), but it thrives between 27°C and 37°C. In that “Goldilocks zone,” its metabolic processes peak and it multiplies rapidly. Below 15°C, growth stops entirely. Above 42°C, it dies.
Small volumes heat up frighteningly fast in direct sun. A 500ml jar sitting on a windowsill can go from healthy to cooked in under an hour on a hot day.
Equipment you need: - A digital thermometer with a probe (cheap on eBay — under $5) - A USB heating mat or small aquarium heater for cold climates - Shade cloth or relocation strategy for hot days
If your culture is small and your ambient temperature is below 25°C, place the container inside a larger bucket of water and put a 25–50 watt aquarium heater in the outer water bath. This buffers the culture against sudden temperature swings.
Step 6: Build Up Volume Slowly
Here is the secret that separates successful growers from frustrated ones: patience. You do not dump your 500ml culture into a 100-litre tank on day one. You build up volume gradually, maintaining a deep green colour at every stage.
The 1/3 rule: Every 2–3 days, when your culture has returned to its original deep green shade after the last dilution, add starter nutrient medium equal to roughly 1/3 of the current culture volume.
How to tell it’s ready: The culture should be dark green, with a dense light-green “border” around the edges of the container about 2cm wide. This indicates the culture is thick enough that light only penetrates a short distance.
Timeline example: Starting with 1 litre, building up by 1/3 every 3 days, you can reach 120 litres in about 35 days — assuming warm temperatures and good light.
Current Volume | Nutrient Media to Add |
500ml | 150–170ml |
1 litre | 330ml |
2 litres | 700ml |
5 litres | 1.7 litres |
Always match temperatures. Never add cold nutrient solution to a warm culture. Sudden temperature fluctuations shock the organism.
Step 7: Harvest, Feed, Repeat
Your culture is ready to harvest when three conditions are met: 1. It is dark green — almost opaque 2. A Secchi disk (see below) disappears at 2 cm or less 3. pH is 10 or above — this is your safety barrier against contamination
Why pH 10 matters: Most harmful organisms cannot survive at high pH. Spirulina thrives in alkaline conditions (pH 8.3–10.5). Once the pH reaches 10, you have a natural fortress. Harvesting before this point risks consuming contaminants.
How to harvest: 1. Pour the culture through fine mesh fabric (37–44 micron screen printing mesh is ideal). 2. The spirulina paste collects on the mesh. The liquid filtrate passes through. 3. Return the filtrate to your culture tank — it still contains valuable medium. 4. Scrape the paste off with a plastic paint scraper.
How much to harvest: Never take more than half your total volume at once. If, after returning the filtrate, you can see more than 4cm into the culture, stop. A culture that is too sparse cannot self-shade and will be damaged by light

Post-harvest feeding: Every harvest removes nutrients locked up in the biomass. Replace them with a post-harvest nutrient mix — different formulation from the starter media. Add roughly 1 teaspoon of nutrients per tablespoon of thick harvested paste. This is not optional. A starved culture will yellow, weaken, and eventually crash.
Storage: Fresh spirulina paste keeps 5 days in the fridge (store in glass, use your nose — if it smells off, discard it). For long-term storage, freeze it in ice cube trays. For the best preservation, spread thinly on baking paper and dry it, or vacuum-seal frozen cubes.
Equipment Checklist
")
Live spirulina culture
Why: The starting organism

Clear Containers (assortment of sizes)
Why: Growing vessels

Aquarium air pump + tubing
Why: Mixing and gas exchange

In-line air valve
Why: Control bubble intensity

Suction cups
Hold tubes in place
Digital thermometer with probe
Monitor temperature

Aquarium heater (25–200W depending on volume)
Why: Maintain constant temp in cold weather

pH meter or litmus paper (narrow range 9–10)
Why: Confirm harvest safety

37–44 micron mesh fabric (1m²)
Why: harvesting

Mesh harvesting frame (optional)
Why: Faster, cleaner harvests

Plastic paint scraper
Why: Remove paste from mesh

Nutrient media (starter + post-harvest)
Why: Feed your culture
The DIY Secchi Disk (Measure Density for Under $2)
A Secchi disk tells you exactly how dense your culture is — critical for knowing when to expand volume and when to harvest.
Materials: A chopstick, a white plastic lid (yogurt container, ~55mm diameter), a black marker, dental floss.
Cut the white disk to 55mm. Draw alternating black and white pie-slice sections.
Pierce a hole in the centre. Push the chopstick through until secure.
Wrap dental floss around the chopstick at 1cm intervals to create depth markers.
Lower it vertically into your culture in sunlight. Note the depth where the disk disappears. At 2cm disappearance depth, your density is about 0.5g/litre dry weight — ready to harvest or expand.

Troubleshooting: Yellowing, Clumping, and Culture Death
Symptom | Likely Cause | Fix |
Culture turning yellow or pale | Too cold, not enough light, or nutrient deficiency | Check temperature is above 15°C; ensure 12+ hours light; check nutrient levels |
Brown foam on surface | Bubbles too aggressive, rupturing filaments | Reduce airflow with valve |
Culture clumping and floating | Over-dense, unharvested too long, too hot | Harvest immediately; thin the culture |
pH not rising above 9 | Too sparse, not enough photosynthesis | Build up density before expanding further |
Culture went brown and smells bad | Overheated (above 42°C) or contaminated | Likely un-salvageable. Start fresh with backup culture |
Green algae or other organisms visible | Contaminated initial culture | Discard. Always start with a pure, examined culture |
The Bottom Line
Growing spirulina is not complicated. It is six moving parts: sunlight, movement, temperature, gradual build-up, harvest at the right density, and post-harvest feeding. Master those, and you have a perpetual superfood machine running on sunlight and a few dollars of nutrients per month.
The organism is 3.6 billion years old. It has survived mass extinctions, ice ages, and every form of planetary chaos. It will survive your learning curve too — if you give it the basics and resist the urge to rush.
Start with a pure culture. Build up slowly. Pay attention to temperature. Harvest when it’s dark green and the pH is 10. Feed it after every harvest.
Do those things, and you will never buy spirulina powder again.
Ready to Start?
Spirulina Grow Co supplies pure, microscopy-checked live cultures within Australia — along with everything you need to grow, harvest, and maintain your culture indefinitely.
500ml live culture + Fast Grow starter nutrients — everything to get from bottle to harvest
1 litre live seed culture — for confident growers who want to scale fast
Premium Farming Kit — culture, nutrients, equipment, and the full comprehensive grow guide

Questions?
Email ken@spirulinagrowco.com.au — we answer every message personally.
